Lessons Learned from Assembling FlowIO
- Ali Shtarbanov'
- Nov 10, 2021
- 3 min read
Updated: Apr 17, 2023
Hello! My name is Hailey and I am a 4th year Mechanical Engineering undergraduate student at MIT. I am working for Ali to assemble, test, and distribute several FlowIO devices this fall. There were many things I learned from assembling the devices for the first time, and several expectations that were far from reality.
Here are 3 very important requirements to successfully assemble FlowIO devices:
(1) Intermediate or higher soldering skills (yourself or someone who can help you)
(2) An intuition on material behavior
(3) Dexterity (controlling your strength & being very careful)
These things made me realize that compared to putting together circuit boards from class or building robots for my team, assembling FlowIO devices was much more difficult. It was not designed for accessibility, but compactness. This requires a significant level of precision, very little room for error, as many of the parts need to be modified to fit into a small casing.
When I first started working on FlowIO, I thought that I would be assembling everything in order, and that I would have all the parts ready from the start. However, I was given the valves first and learned that it was the bottleneck of the assembly process. The plastic part of the valves was much weaker than I expected, so I had to be very careful not to break it by accident. I had to build an intuition on how much force I could apply to the valves before it would break. For this I practiced on the valves that I had set aside to be the inlet valves, where the plastic tabs had to be taken off.
Troubleshooting
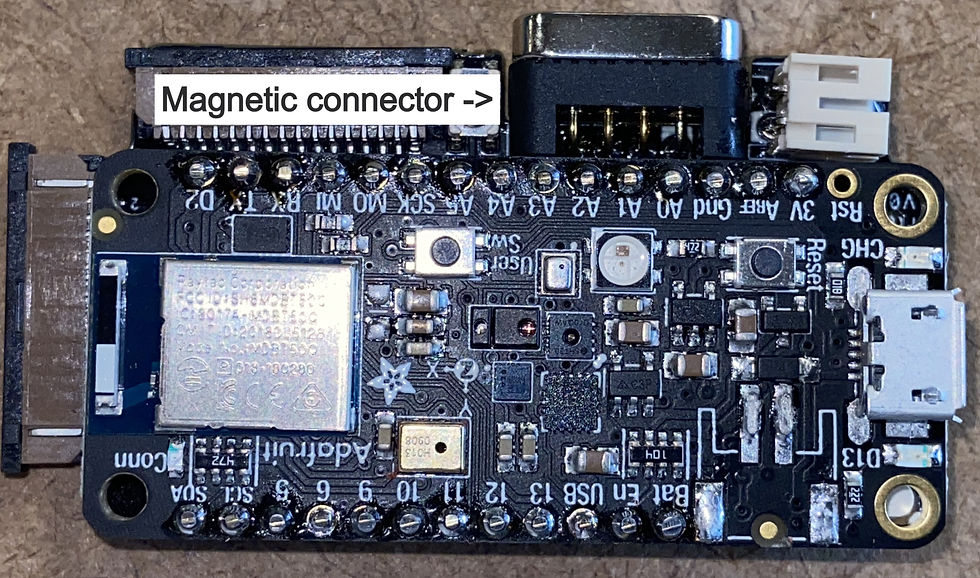
Another common surprise was running into problems that the instructions did not address. For instance, in the PCB prep chapter, you are told to solder the magnetic connectors from both the top and the bottom (see image below). However, it wasn't clear how to this should be done and I spent a lot of time desoldering. I found that I had to apply the solder from the top while heating from the bottom. After this discovery I talked to Ali about it, and he told me that that was how he did it. From this I found that sometimes it is more efficient to just ask someone who has experience with the assembly for help.

Lastly, I found that you cannot trust your parts as they come. Before you start any of the assembly process, you should always check the quality of your parts, especially the PCBs. In my case, I found that in one of the female pin headers on a main driver board, there was solder stuck inside, which prevented the male pin from going all the way in (I had someone look at the header with a microscope). At first, I thought that since it's solder, it should still be conductive and would work anyway. However, when I ran the hardware test, it kept failing the vacuum test. I was running the test on valves and pumps that had successfully passed the hardware test on a different main driver board, so it was either the adafruit feather sense or the PCB. I tried running the test on a different PCB that had successfully passed the test by switching the adafruit feather sense, and it passed all the tests. This confirmed that it was indeed the PCB that was causing the vacuum test to fail. The pin header that had the solder stuck inside was probably a pin that was being used for vacuums. Perhaps it wasn't even solder that was stuck inside. In any case, you should always make sure that your parts are working. If something doesn't work, check your parts to see if your previous assumptions were actually valid.
Useful tools
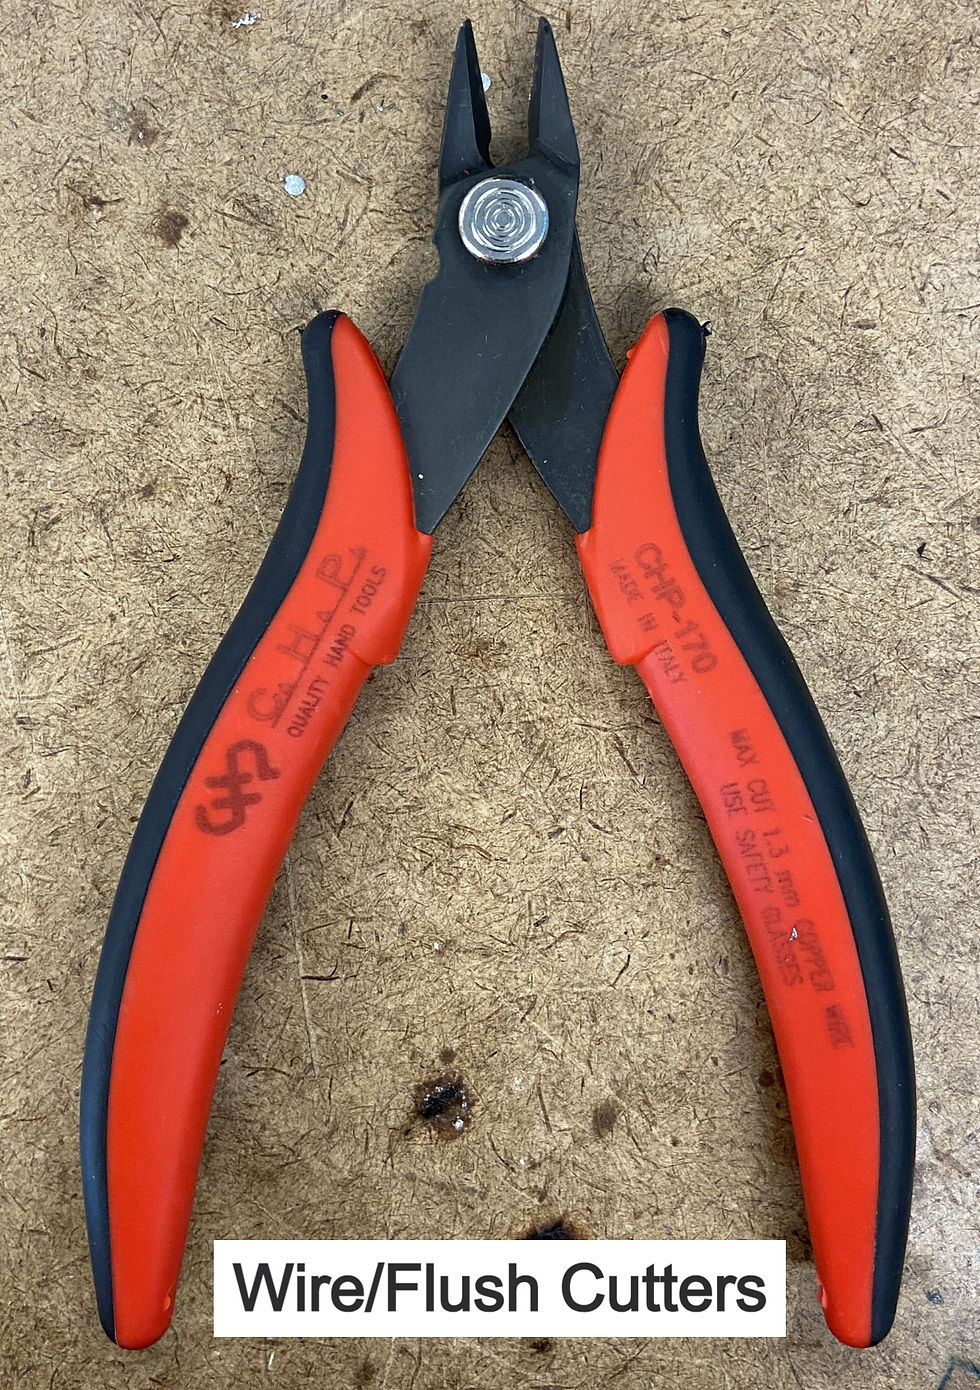
Wire/Flush cutters
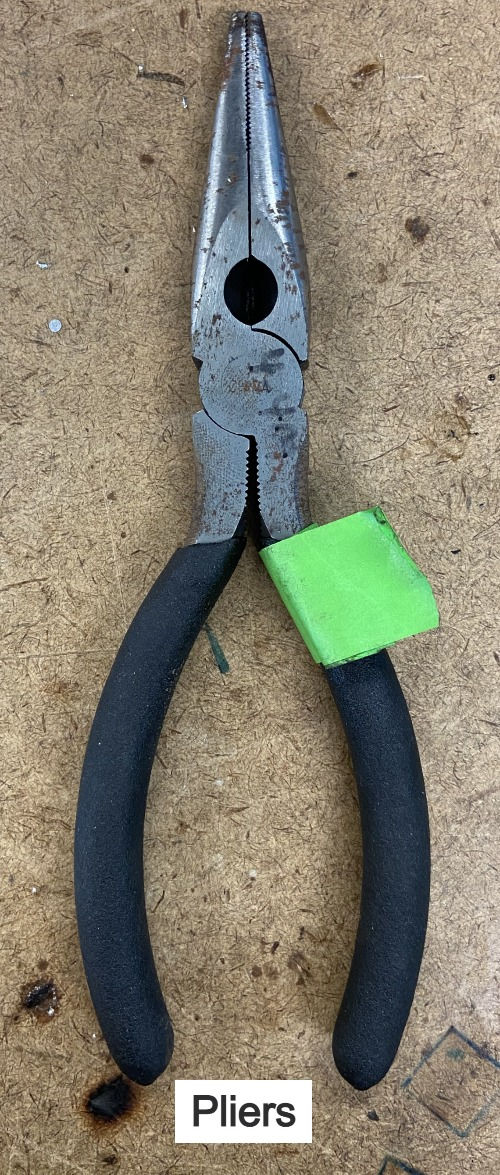
Pliers
A bench vise


Comentários