Hardware assembly experience
- Zhaoyang Dong
- May 31, 2023
- 2 min read
PCB Soldering
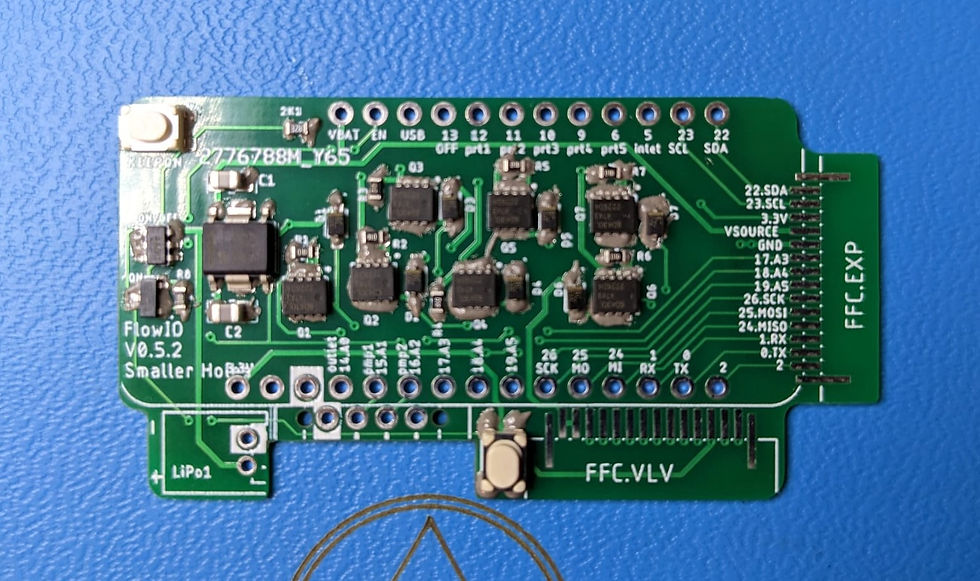
Due to the numerous and small SMD components, I recommend using solder paste, as it allows for one-time placement and one-time heating, thus improving soldering speed and accuracy.

Apply a certain amount of solder paste onto the solder pads (slightly more is acceptable), place the component on top of it.

Then melt it using a hot air gun (around 350 degrees Celsius), and finally, leave it to cool down.
Note: Please be careful not continuously blow heat onto the components to avoid damage. As shown in the picture below, the wire to board connector was melted due to excessive heat exposure.

Valve Modifications
During my assembly process, dealing with the valves was quite tricky. I will list the difficulties I encountered and their corresponding solutions.
1. Back tab removal
The metal tab at the back of the valve is not easy to be sanded off using fine grit file. I chose to use a drill. Actually, grinding three valves flat is enough for parts to fit together during subsequent assembly.
2. Airtightness
Since the plug requires a high-resolution 3D printer, my handling method may be helpful if other makers don't have access to a printer that meets the requirements or if the printed parts have defects.
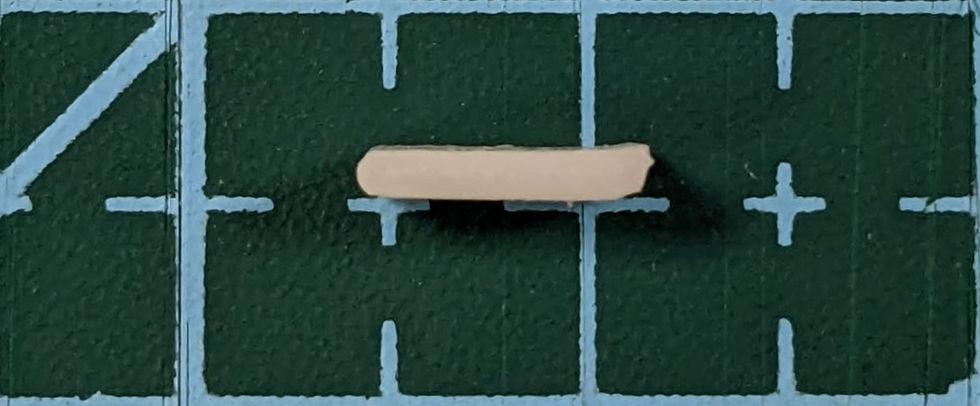
In our batch of printed parts, one end tends to warp, which would cause the channel to break if inserted directly.

I cut off the warped portion, leaving a remaining section that is actually long enough. Since the printed parts and the channel don't fit snugly, I apply adhesive around the printed parts or wrap them with a couple of layers of tape. After testing, this ensures an airtight system.
3. Hardware test error (sensor detection and valve click)
To be continued...


Outstanding work! Congratulations.